
Digital dentistry workflow: From scan to final restoration

Share to AI
· Save this article into your assistant- Most cases follow six stages: scan, transfer, CAD design, manufacturing, finishing and fitting.
- Review the scan before the patient leaves; clear margins and complete scans matter.
- A complete prescription, bite records, shade and photographs help the technician understand the case.
- Complex full-arch cases may need conventional verification alongside the digital process.
- Digital dental technology does not replace clinical assessment or laboratory expertise.
Digital dentistry connects the work done in the dental chair with the work carried out in the dental laboratory.
Instead of relying entirely on physical impressions and models, clinicians can capture a scan, share the case digitally and review a proposed restoration before it is manufactured.
But good records, technical judgement and communication still matter.
What is a digital dentistry workflow?
A digital dentistry workflow is the series of steps used to plan, design and produce a restoration using electronic records and computer-controlled equipment.
It generally begins with an intraoral scan and moves through computer-aided design (CAD) and computer aided manufacturing (CAM), which can support more efficient case communication and recordkeeping.
The integration of digital tools allows practices and laboratories to share scans, photographs, bite records and instructions.
Digital dental technology does not replace clinical assessment or laboratory expertise.
How does the digital dentistry workflow work?
The process varies with the restoration, but most cases follow six stages.
Step 1: Digital impressions and intraoral scanning
The dentist uses an intraoral scanner to record the prepared tooth or treatment area, neighbouring teeth, the opposing arch and the bite.
Clear margins and complete scans are important. Blood, saliva, movement or missing surfaces can leave areas that the laboratory cannot interpret reliably.
Review the scan before the patient leaves. As with a conventional impression, a good digital scan requires careful preparation and attention to detail.
A clear digital record at this stage reduces the risk of guessing at margins later. A scanner can only capture what it sees, so the preparation margin must be clearly visible before scanning.
The most common issues we encounter are poorly defined preparation margins, incomplete scans of interproximal areas and insufficient capture of surrounding soft tissues. Inadequate tissue retraction and moisture control can also affect scan accuracy.
Our advice is to ensure margins are clearly visible, maintain good moisture control and carefully review the scan before submitting it. A few extra minutes spent checking the scan can prevent remakes, delays and unnecessary adjustments.
Step 2: Transferring digital scans to the dental laboratory
The practice sends the scan and prescription through a compatible portal or file transfer system.
Tooth number, shade, material preference, preparation details and photographs help the technician understand the case.
Incomplete digital data can still require clarification or rescanning.
Step 3: CAD design and restoration planning
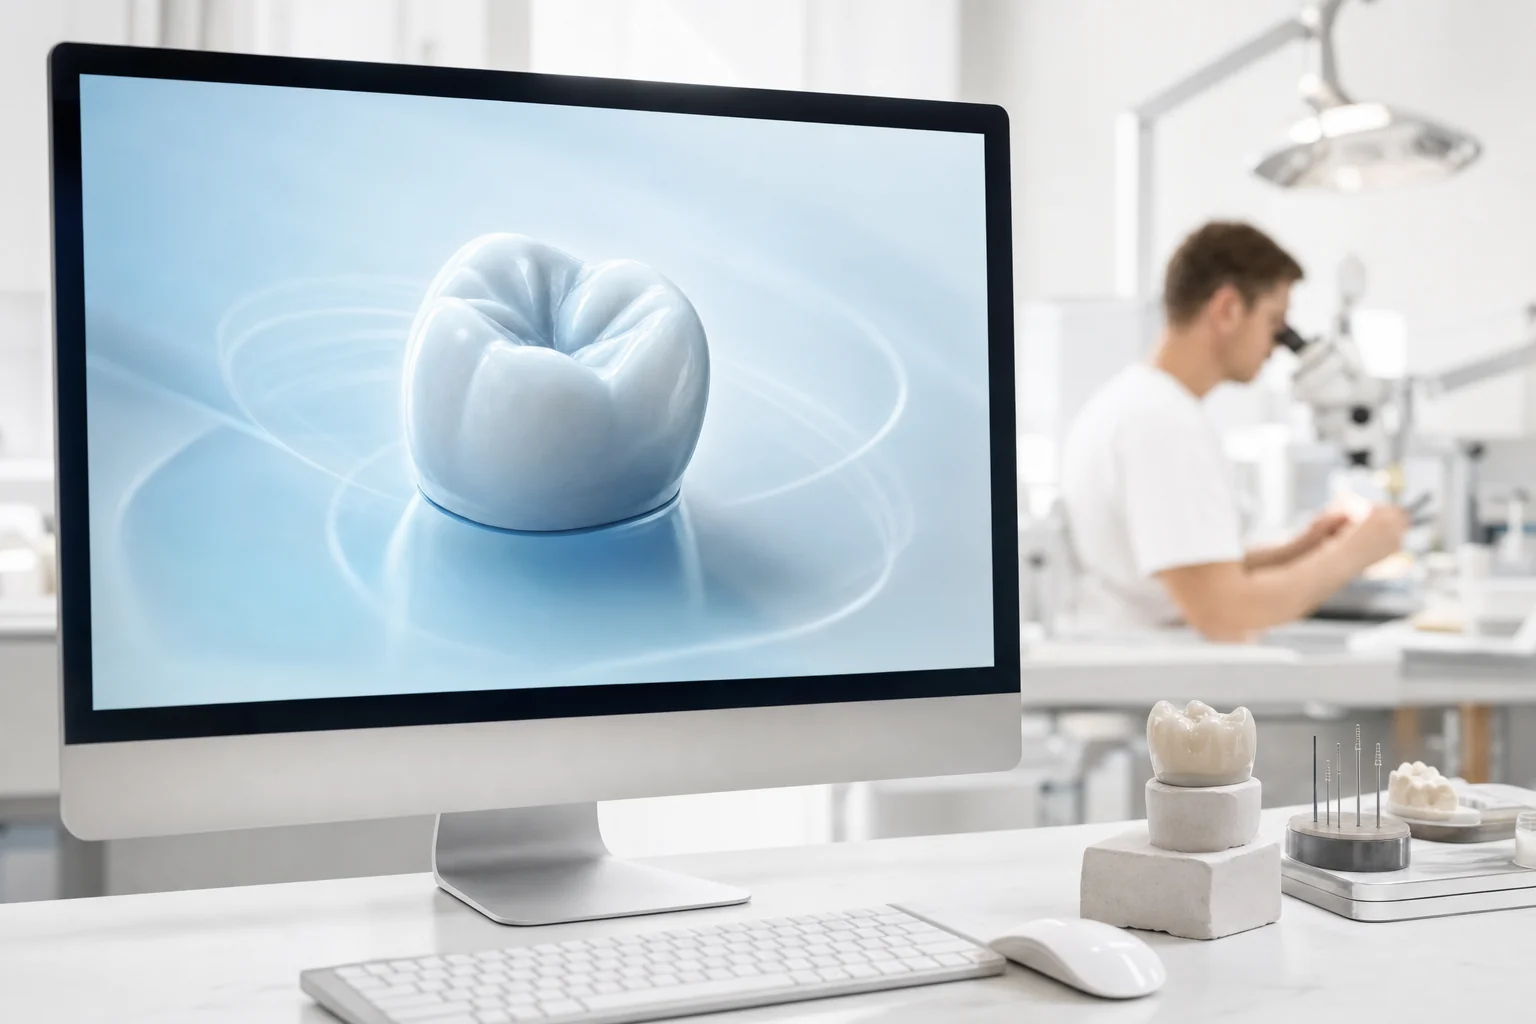
The technician imports the records into design software and develops the restoration's shape and anatomy.
This includes reviewing margins, proximal contacts, occlusion and available space. Digital designs can be shared for review.
For complex treatment planning, a digital wax-up or digital smile design can show the proposed result.
One of the most important aspects of CAD design is recognising when a digitally generated restoration needs technician intervention.
We regularly identify issues involving material thickness, occlusal clearance, emergence profiles and connector dimensions, particularly with implant restorations and full-arch cases.
Our experience allows us to make adjustments that improve strength, function and aesthetics before manufacturing begins. Digital technology is an excellent tool, but it doesn't replace the knowledge and judgement of an experienced dental technician.
Step 4: Manufacturing with CAD/CAM technology
Once the design is approved, CAD/CAM systems guide production.
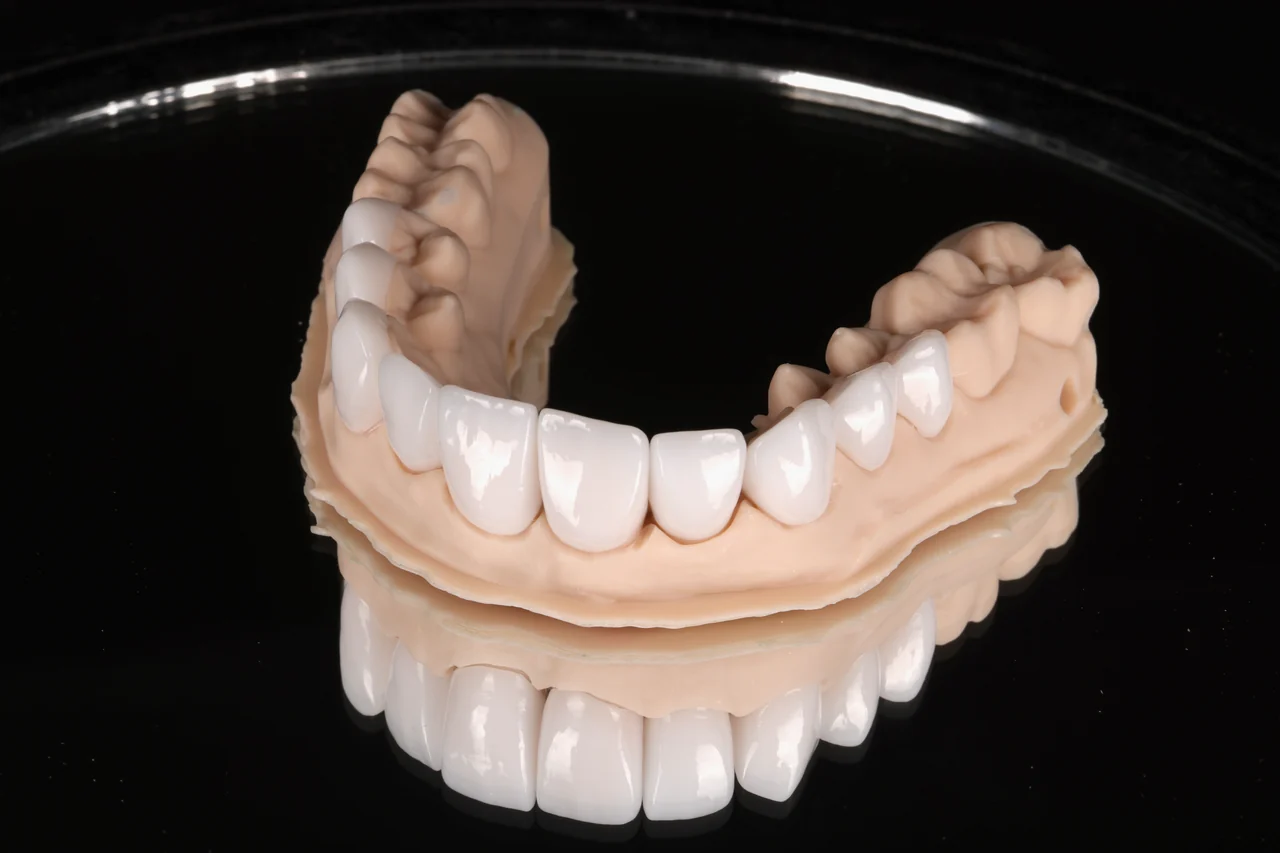
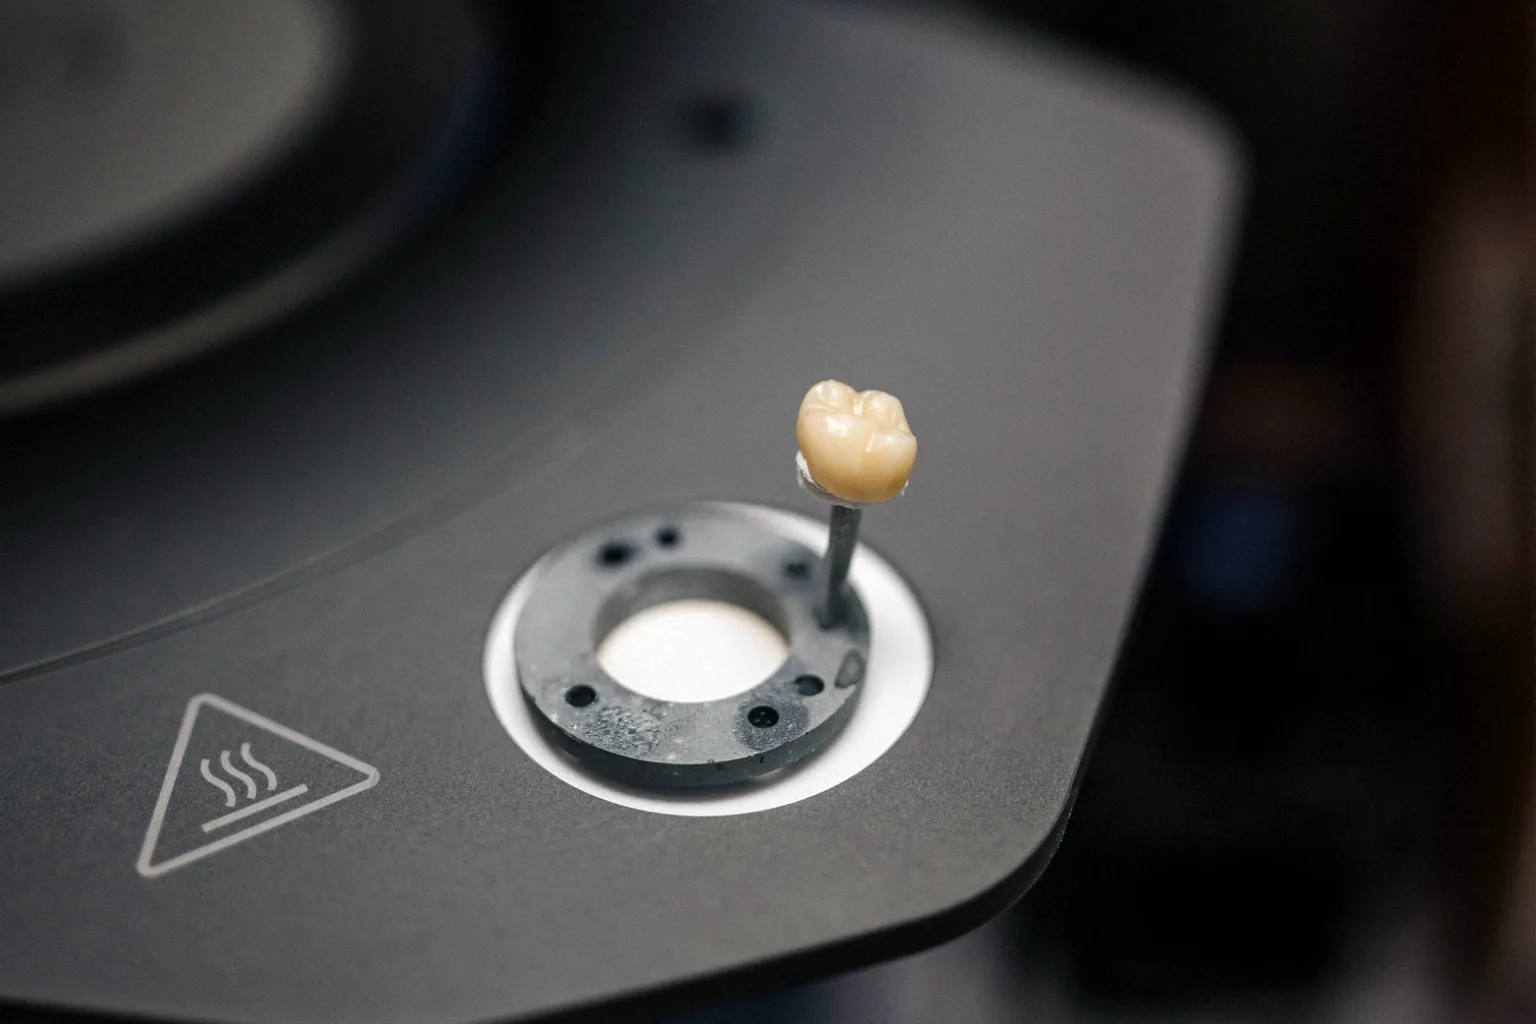
Depending on the material and restoration, computer aided manufacturing may involve milling a ceramic or titanium component, or 3D printing a model, guide or suitable resin appliance.
Milling machines or 3D printers are selected for the job rather than used interchangeably. Material-specific instructions still apply. Many materials also require sintering to reach their final size and base shade before further characterisation.
Step 5: Finishing and quality control
A manufactured restoration is not automatically ready for delivery.
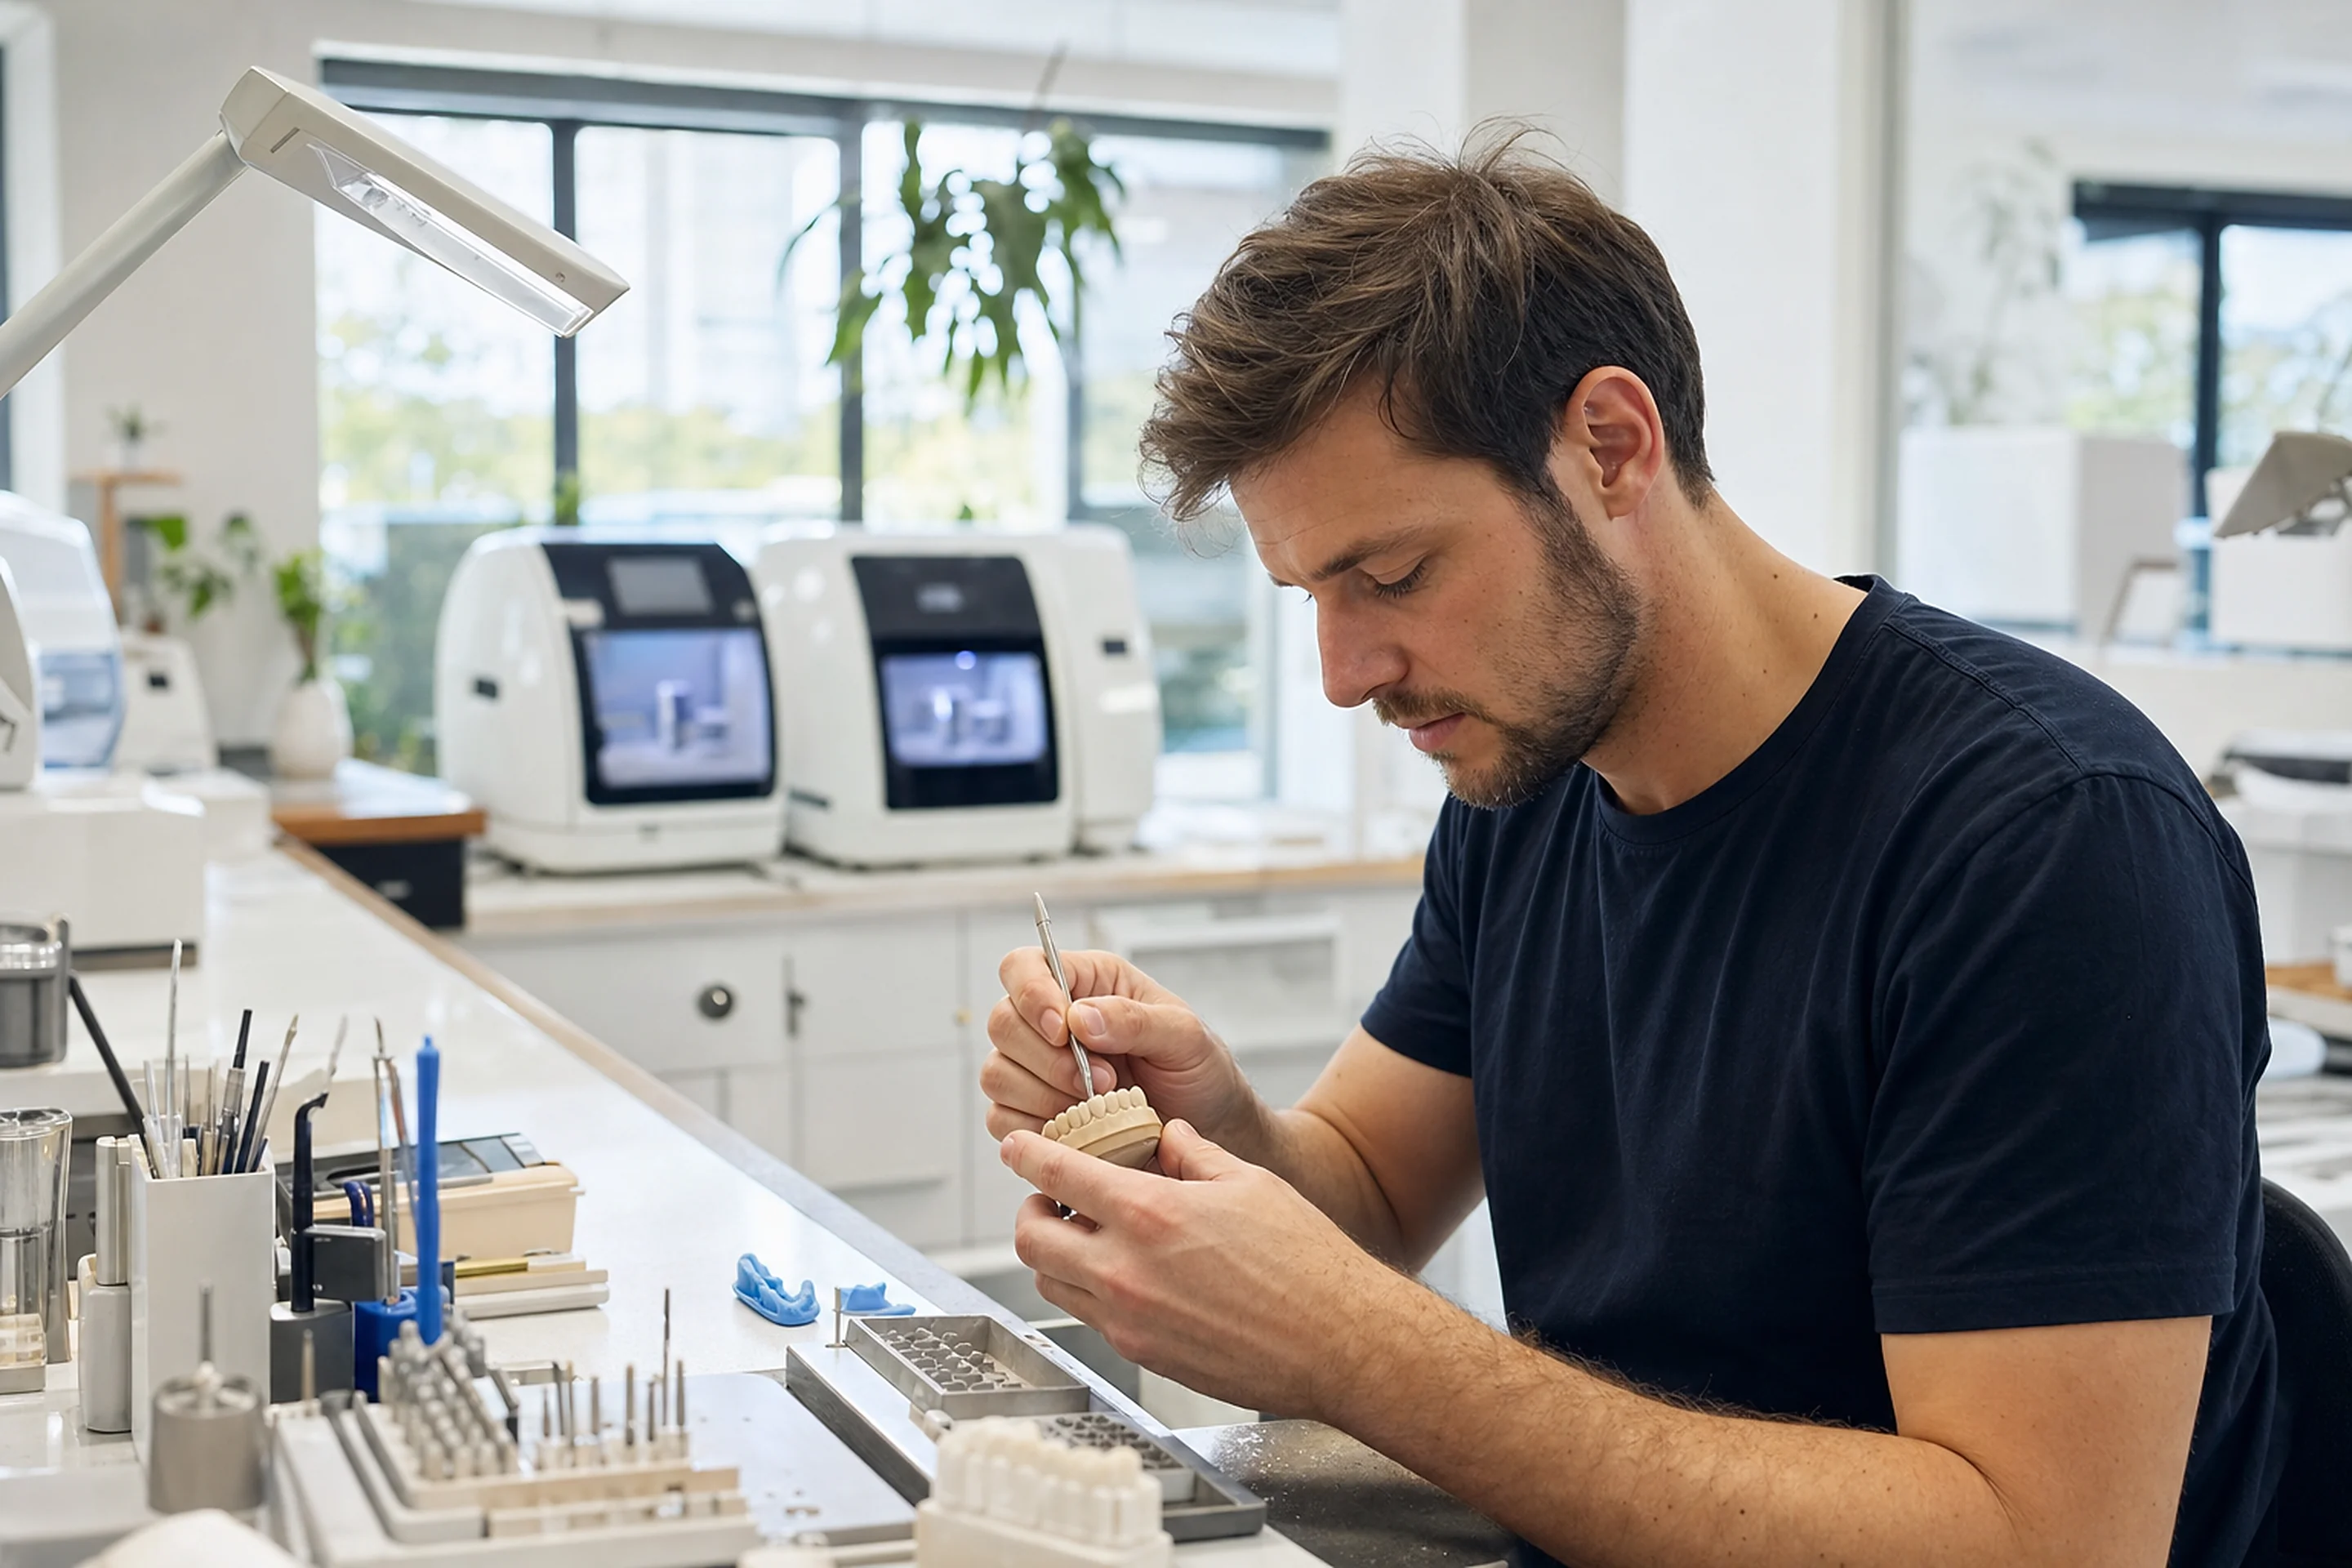
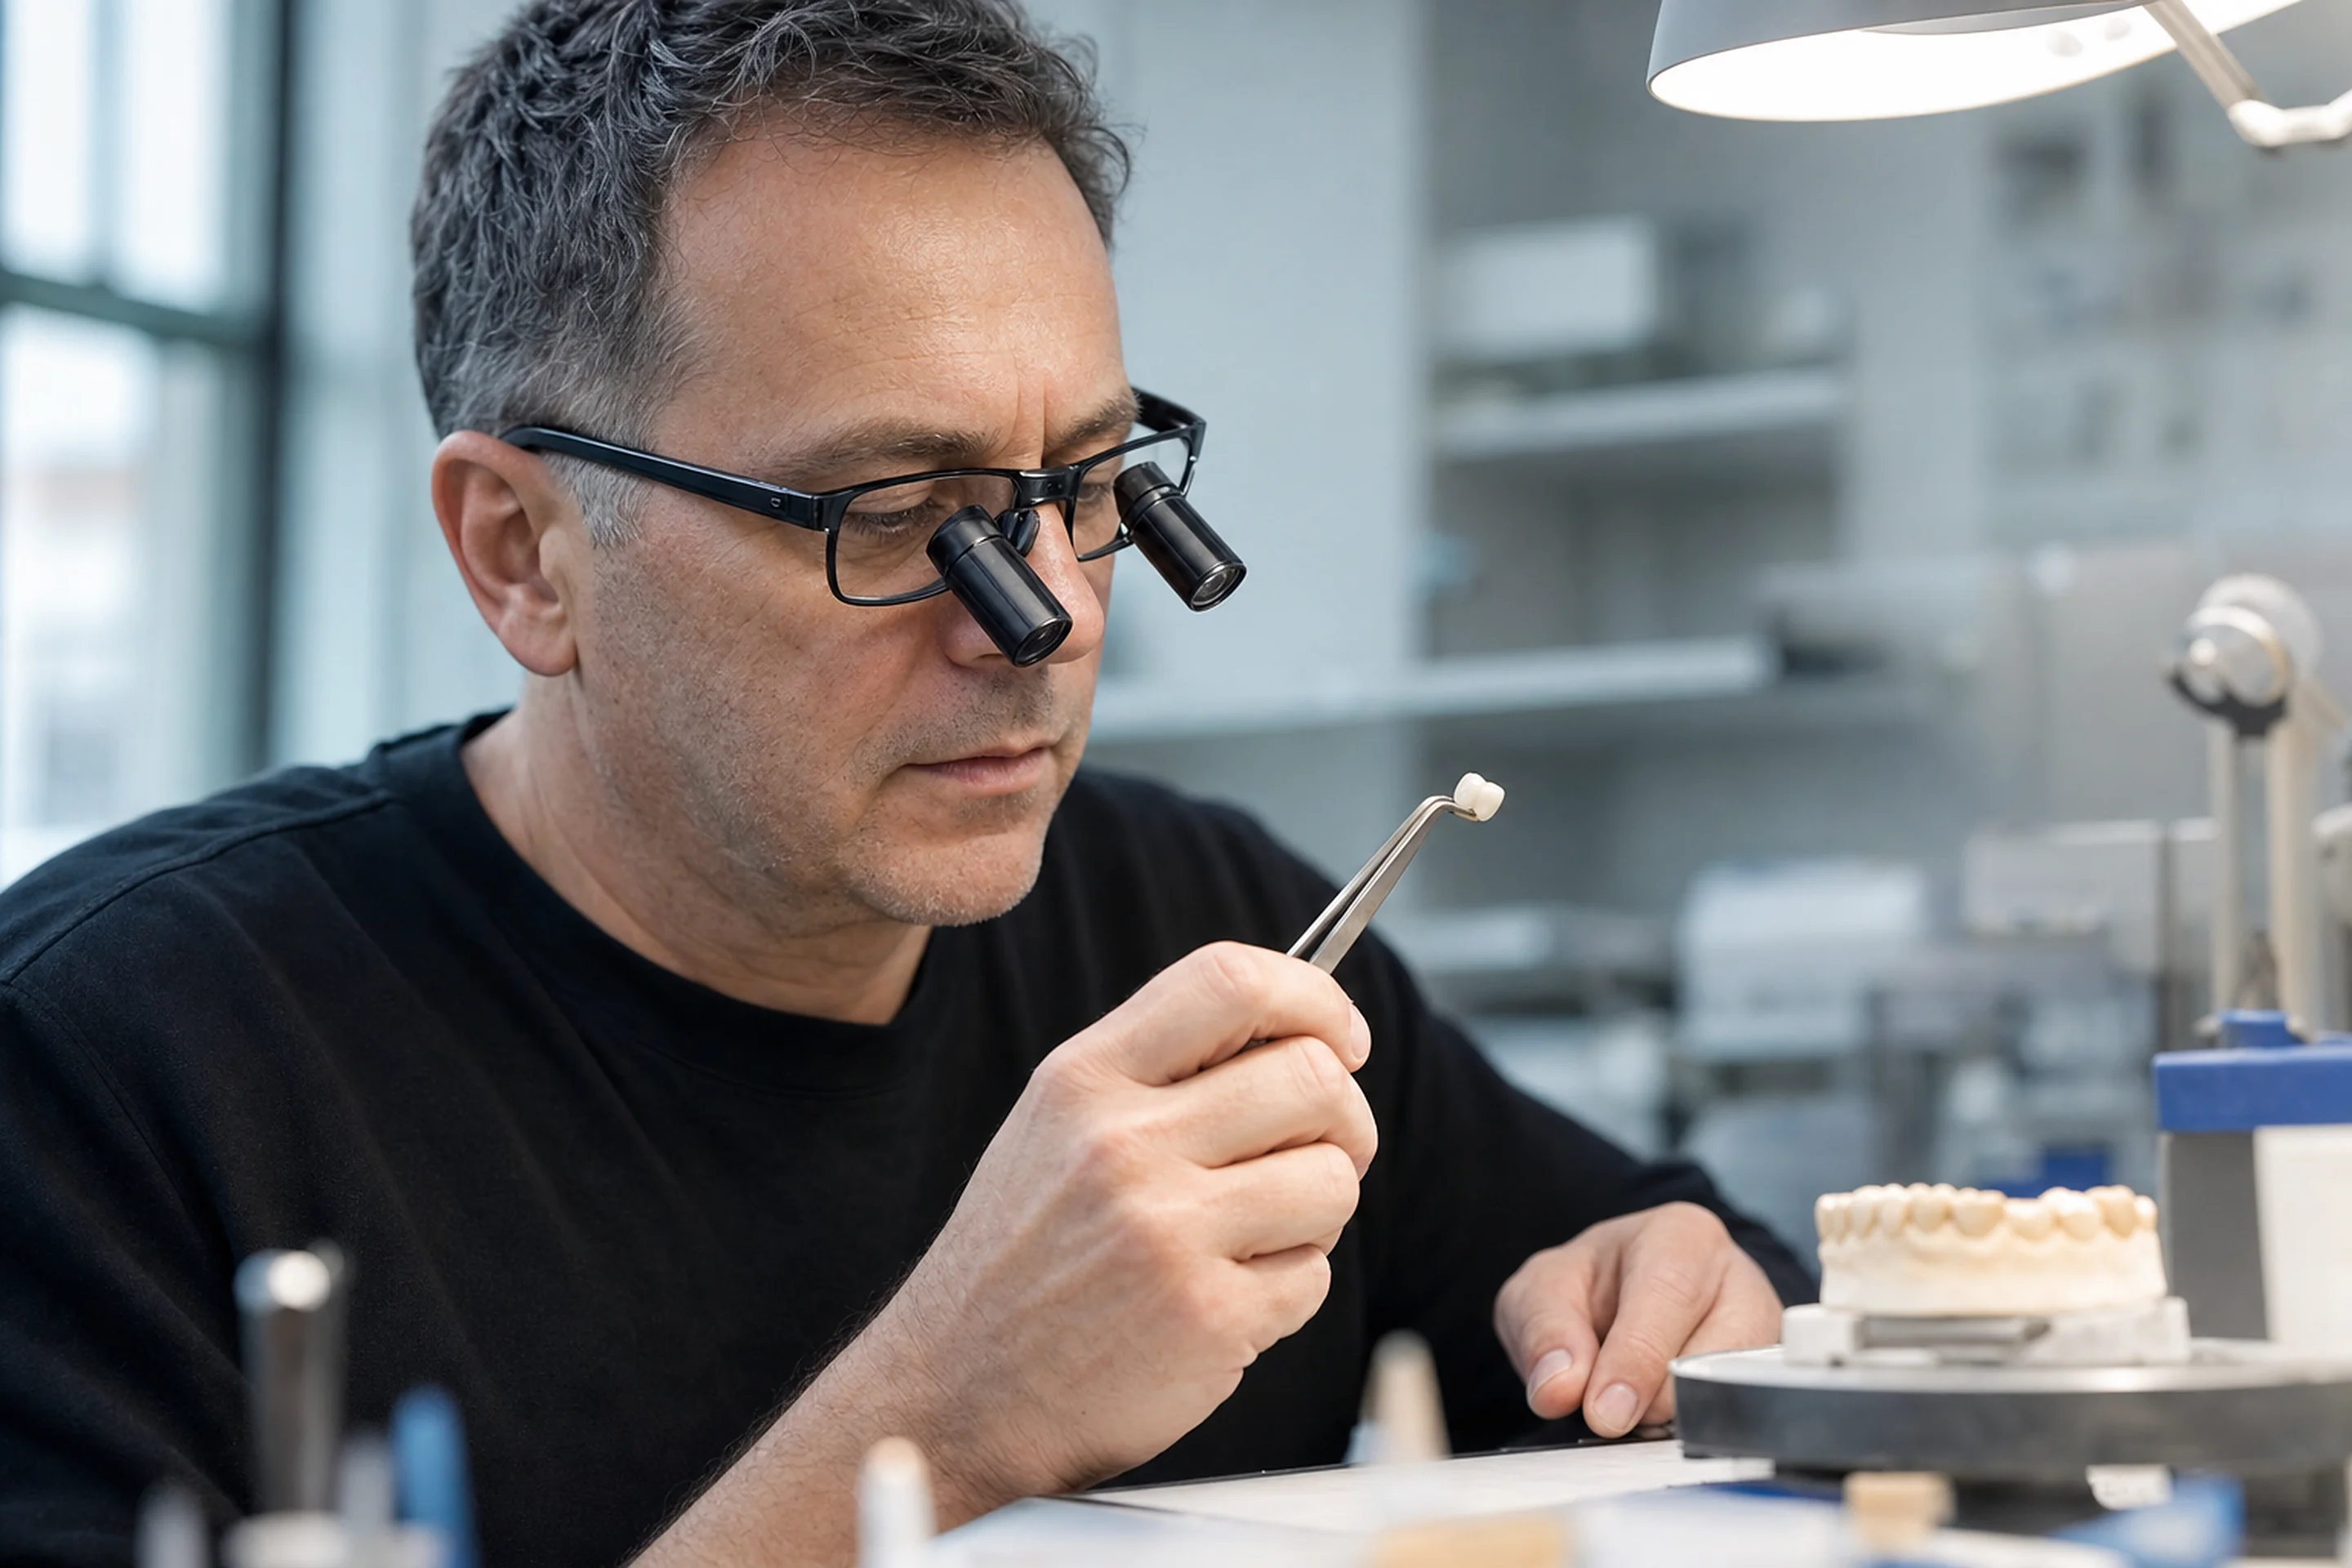
Technicians check margins, contacts, surface finish, shade and the intended design, then complete any required polishing, glazing or characterisation.
Fit may also be checked on a working model before dispatch.
Step 6: Final restoration delivery and fitting
The finished restoration is delivered to the practice, where the dentist assesses its seating, marginal fit, contacts, bite and appearance.
The dentist also confirms whether the restoration suits the planned function and clinical situation.
What are the benefits of digital dentistry workflows?
A digital workflow streamlines the transfer of usable case records and can make questions easier to resolve before production begins.
Digital workflows enable clinicians and technicians to review designs, keep a record of changes and refer back to earlier scans. This also gives both parties greater visibility of the case as a whole.
This can support consistency and reduce avoidable handling or postage, but it does not guarantee shorter turnaround times or a perfect fit.
Some patients experience less discomfort with scanning than with impression trays, although conventional methods may suit certain cases better, such as cases involving very deep subgingival crown margins.
Digital vs traditional dental workflows: What's the difference?
Compared to traditional methods, digital systems reduce physical transfers but introduce file compatibility and scan-quality requirements.
| Stage | Digital workflow | Traditional workflow |
|---|---|---|
| Impression | Intraoral scan | Physical impression material |
| Transfer | Electronic scan and prescription | Physical impression and prescription |
| Design | CAD with technician review | Wax-up or manual laboratory design |
| Production | Milling or printing where suitable | Casting, pressing or other conventional techniques |
A poor digital scan is no better than a poor conventional impression. Either can leave crucial details missing.
Which dental restorations can use a digital workflow?
Crowns and bridges
Single crowns and many bridges can be scanned, designed and milled. Material choice, margin visibility and preparation quality still affect suitability.
Implant-supported restorations
Digital implant cases may use scan bodies to capture implant position for custom abutments and implant crowns. The components must match the implant system.
Full-arch implant restorations
Full-arch cases may be virtually planned, but accurate implant positions and bite records can require additional verification.
While digital workflows have transformed implant dentistry, they aren't always suitable as a completely digital process, particularly for complex full-arch restorations.
Challenges can include accurately recording implant positions, verifying passive fit, establishing the correct vertical dimension and assessing aesthetics and function.
At Prime Lab Dental Studios, we combine digital manufacturing with conventional verification techniques when required. This can include verification jigs, physical try-ins and prototype restorations before producing the definitive prosthesis. We recommend the use of photogrammetry for the best passive fit, though some horizontal scan flag kits have proven results.
We believe the best results come from using digital technology where it adds value, while recognising when traditional techniques are necessary to achieve predictable, accurate outcomes.
Dentures and removable prosthetics
Digital processes can support dentures and removable frameworks, although jaw relationships and tissue records may require extra clinical stages. Splints, retainers and whitening trays can also be made from digital models.
What makes a successful digital workflow between dentists and dental laboratories?
Successful handover needs a complete scan, clear prescription, visible margins, bite records, shade, material instructions and relevant photographs. Implant cases also need component details.
The technician must be able to raise concerns before production, especially for unusual preparations or complex cases. Small changes to the workflow improve communication when they prevent assumptions about an unclear margin or missing record.
The choice of workflows offers flexibility, but neither digital nor conventional methods remove the need for experienced judgement.
How Prime Lab Dental Studios supports digital dentistry workflows
Prime Lab Dental Studios works with clinicians across WA from our West Leederville-based Perth dental lab. Its in-house technology includes GenCore milling systems and Ackuretta and SprintRay 3D printers. It accepts leading scanner systems and checks restorations before dispatch using a five-point quality check.
Explore our Technology page and restoration range, or contact our team to discuss a case or scanner connection.
FAQs
The six stages are scanning, sending case records, CAD design, manufacturing, finishing and laboratory checks, and clinical fitting. Each step depends on reliable information from the one before it, making every step important.
A practice generally needs a scanner, its compatible computer or workstation, reliable connectivity and a way to send case files to the laboratory. Exact requirements depend on the scanner system. See our Products page for guidance on connecting your scanner.
Some software offers AI-assisted image processing, design suggestions or analysis. Such functions require professional review and should not be assumed to diagnose problems or verify the bite independently.
Begin with routine cases, covering scan capture, records, submission and reviews. Agree on responsibilities with the laboratory.
There is no universal winner. Compare scan quality for your case mix, ease of use, export options, support and compatibility with your chosen laboratory.
Incomplete scan areas, poor bite registration, missing prescriptions and incompatible files are common delays. A checklist and early technician feedback can help resolve them.